lørdag, mars 30, 2013

Padding tutorial

Here it is, my tutorial for a customized circular padding:
1. I bought a kitchen chair padding at 50 % discount and decided the thickness and firmness of the foam rubber padding would be perfect for making a precisely shaped and stady seat padding for my piano stool. The cover was crocheted during Christmas and had been waiting for a proper filling ever since...


2. I used the crochet cover as a template to mark the size of the actual padding (inner circle) and seam allowance (outer circle). I used a pointed and very sharp pair of scissors (not the blunt pair shown in the top photo...) to cut the fabric following the outer circle marking.

3. Then I marked the foam rubber padding, making the circle as even as possible

4. Using a very sharp little knife I cut the foam rubber following the marking, and then cut another cm within the edge to make sure the padding got the right size and leaving the top fabric a cm bigger (seam allowance)


5. I then cut the bottom layer of fabric allowing ca 5 cm of fabric all the way around as seen in the photo below.


6. Folding in the bottom layer of fabric, securing it  by folding the top layers seam allowance and pinning the layers of fabric to the foam rubber - distributing the pins evenly...
7. ...adding quite a few more pins to make sure the top layer is as neatly shaped as possible, and also making sure it stays in place while stitching as shown in the photo below
 8. keep stitching all the way around the padding, and VOILA!

 "...both sides now..."
...the piano stool padding at work here...

torsdag, mars 28, 2013

Happy Easter!

 Happy Easter! The sun is out, and little green leaves are appearing - on the branches I put in water a couple of weeks ago. Spring is near!!!

onsdag, mars 27, 2013

Circular comfort

 Last week I finally finished this circular piano stool padding. The yarn is a fingering weight cotton from Søstrene Grene - leftovers from a ripple bed spread (that I finished last year but still haven´t blogged). It was impossible to find a circular padding of the right size, so I ended up making it myself. A step-by-step tutorial for this will follow... PS - the stool was purchased last summer at Skafferiet - well worth a visit!


mandag, mars 11, 2013

Button buddies

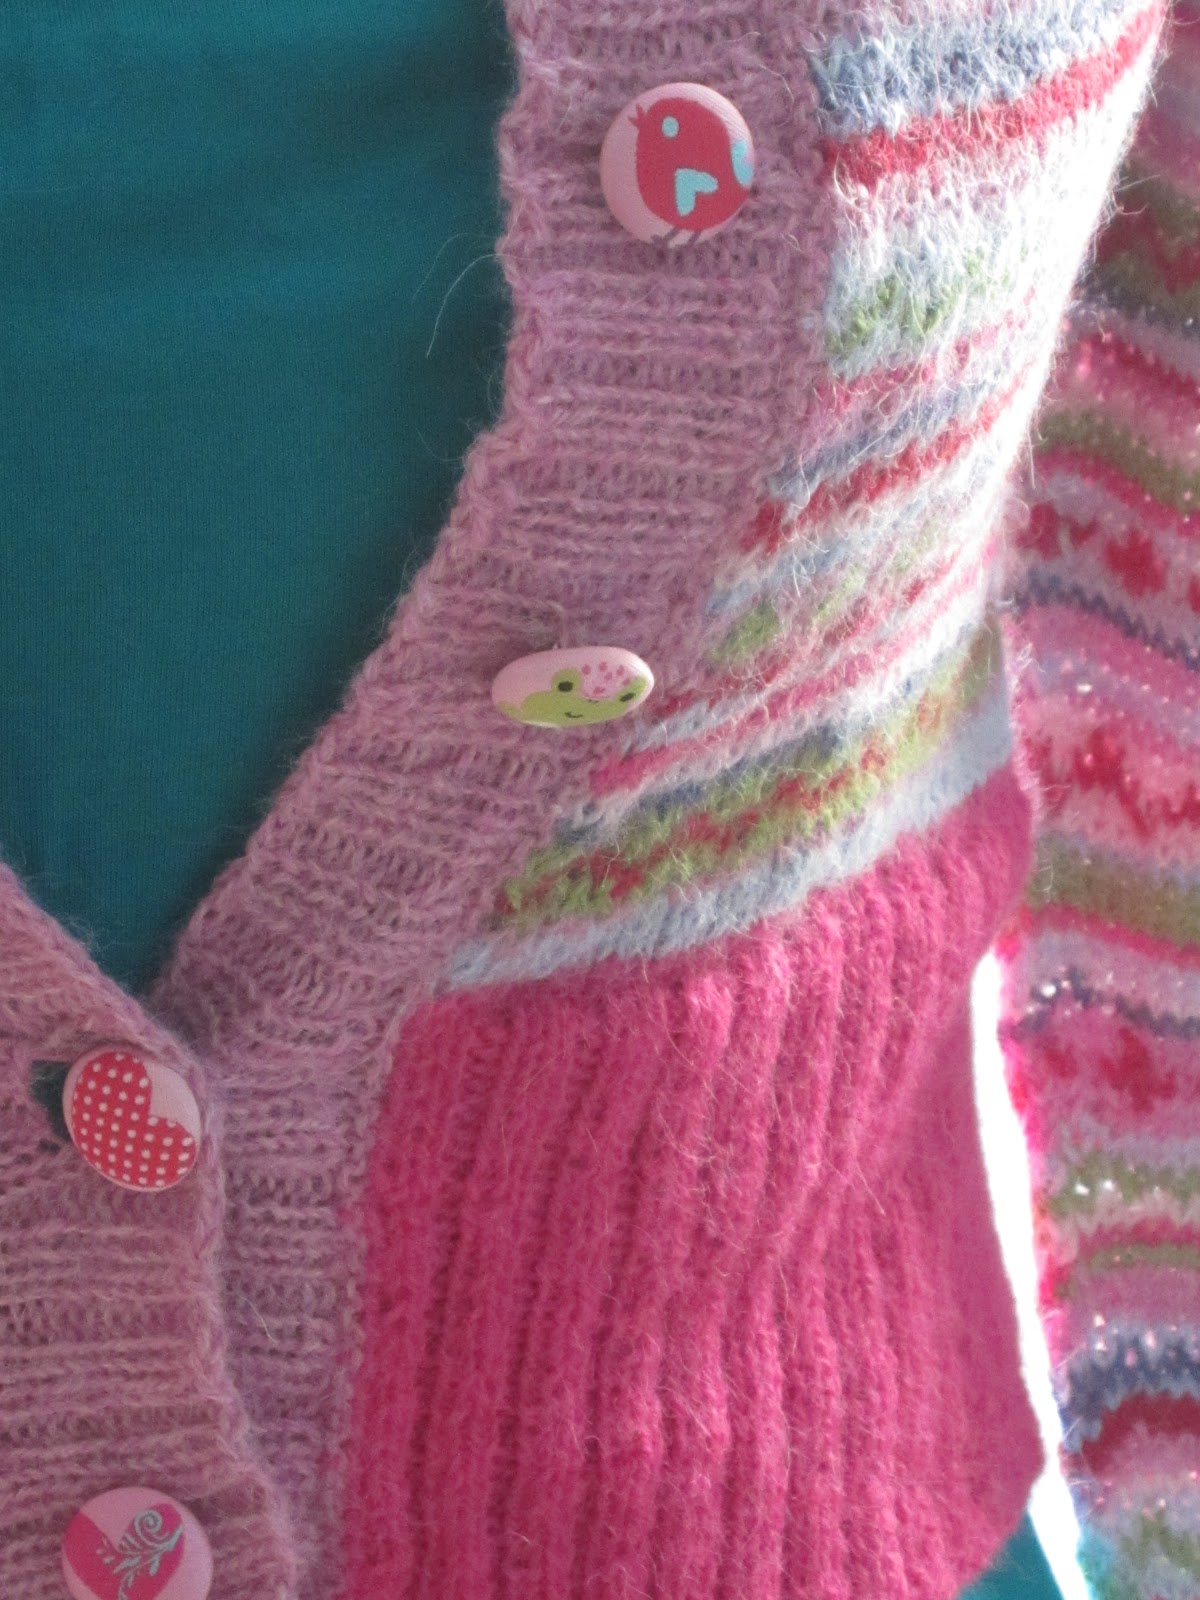
I just had to show off the little button cuties on my Candy Cardie...

fredag, mars 08, 2013

Fairly fair


Another crochet project using scraps from the stash... I don´t know how many scrap projects I have started, just to end up bying more yarn to be able to finish it off at an appropriate size. I guess it is no point guaranteeing this will NOT happen this time, but it is still my intention. So this will be a blanket, size "as big as it gets using all my white, off-white and pale beige scraps"...

I decided to put my inner yarn snob to rest for a while, as my stash contains little scraps of acrylics as well as the finest angora wool. If I am ever to "get rid of" the undesireable acrylics, it will have to happen now. As the photo shows I even have some really old wool as. The logo below just screams early eighties - genuine vintage yarn, no less ;o)

tirsdag, mars 05, 2013

Candy Cardie good to go!


Isn´t she lovely? Isn´t she beau-tiii-fuuuul?!?
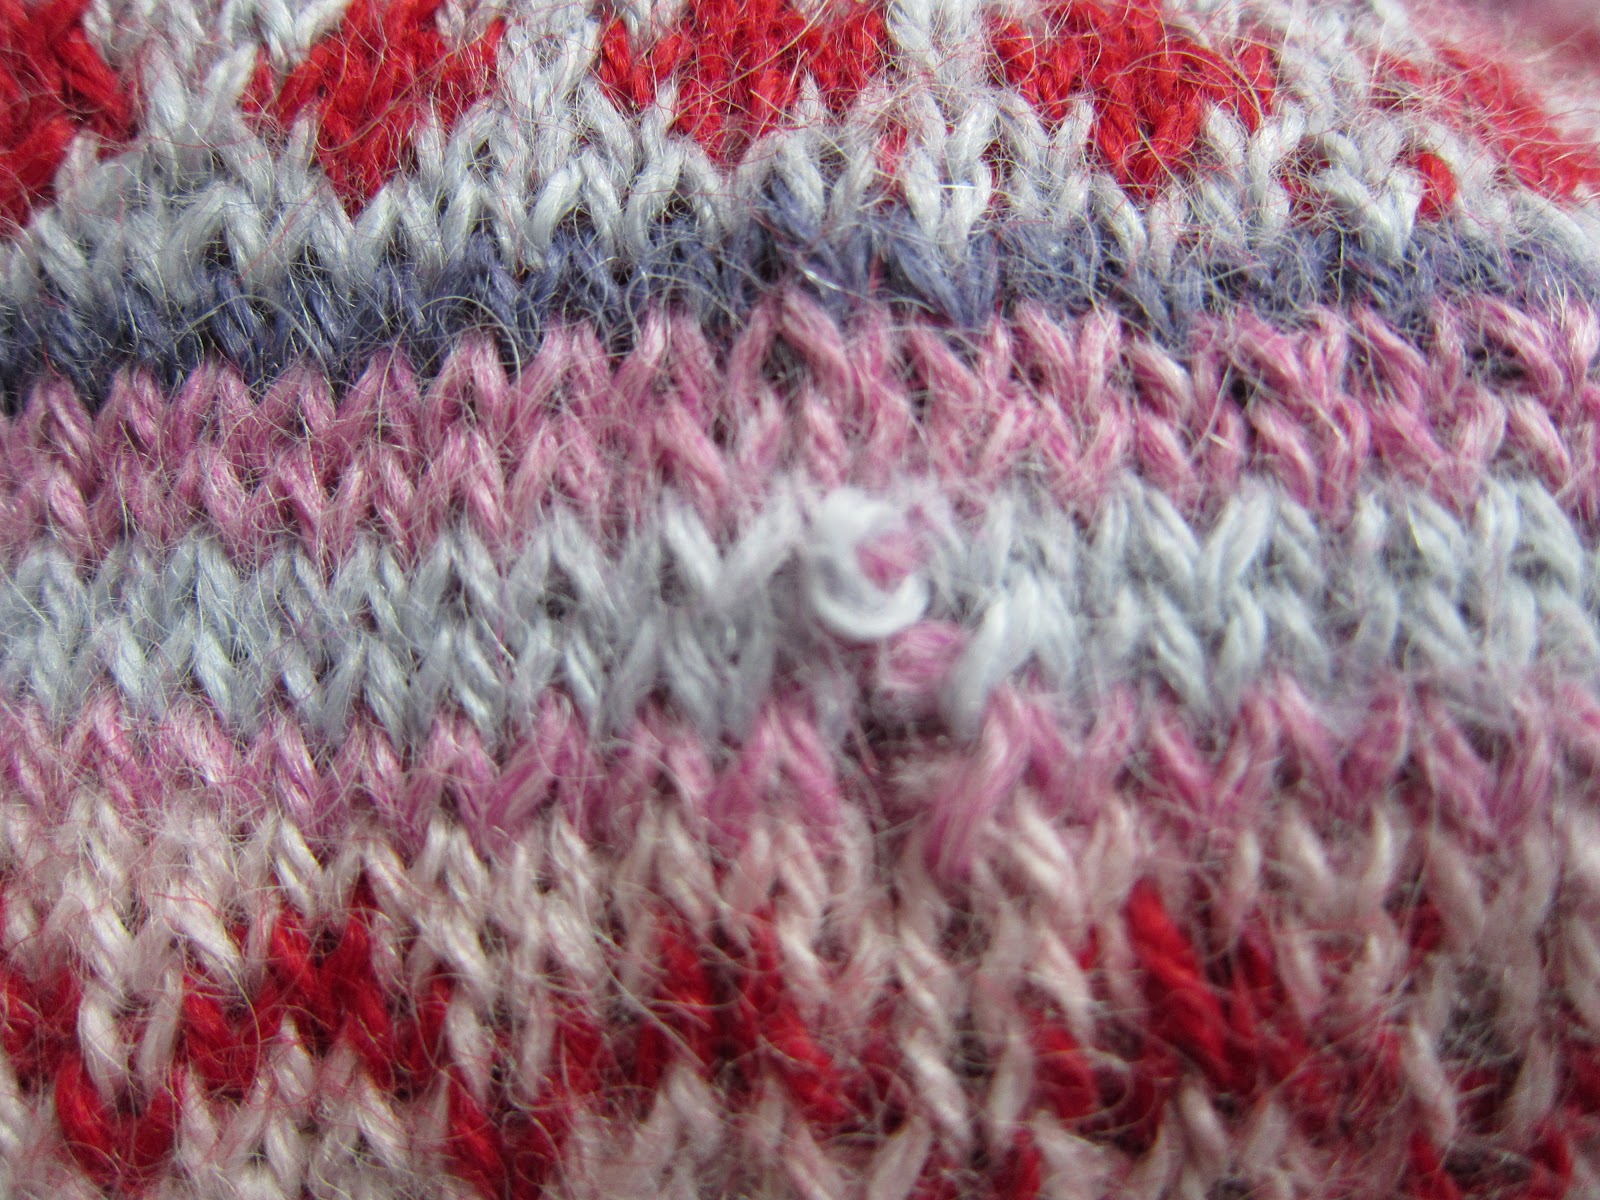
A surprisingly quick and pleasant knit, this one! I cast on the 7th of February and bound off the 27th. A few days later I took my  baby to the spa and gave her a bubble bath and light steam press - and of course I carefully trimmed all the woven in ends inside the sleeves and alongside the front hems. And. Then. I. Discovered. With. Great. HORROR!!!! That I had accidentally snipped one stitch on the right sleeve as well... But I have fixed it! Picture proof below!


torsdag, februar 28, 2013

Hooked on spring colours...

This is a glimpse of a small crochet project I did over Christmas - still waiting for its final touches. Pastel colours, candy colours, spring colours - it seems I am hooked! Pun intended... The crochet background is a beautiful tablecloth my dear aunt M made me some years ago. I think this pair is appropriate to welcome spring on this last day of February :o) Stay tuned for news on this circular colour fest!

mandag, februar 25, 2013

fiberfeber vol. I - VII

I spent most of Christmas 2012 editing my blogbooks in an online tool called Blurb - and here they are, all seven of them! Originally I started this blog-to-book process to make sure I could keep "solid evidence" of my blogging career even if I decided to close the blog down. So far 2013 has been quite good blogwise, so I think fiberfeber will live on for a while still.

fredag, februar 22, 2013

Candy cardie update

The cardie is growing faster than I thought it would, and it is such a looker! The textile buttons were an impulsive purchase at some craft shop quite a while ago - I think they are close to a match made in heaven for the cardie. The girlieness of this garment is quite owerwhelming, but clever styling will hopefully make it work even for an ol` gal` like myself!

søndag, februar 17, 2013

Colourful memories

These photos are absolutely not new - they are actually taken during a mid May weekend in Copenhagen 2012. This was a longed for break, and my first time in this wonderful city for years. I got to wander the streets and visit quite a few nice shops. This is from the Grønlykke-shop in central Copenhagen. I ended up bying just a few precious items, almost overwhelmed by all the beautiful colours and patterned stuff.


And this is the best place ever for a traditional herring sandwich lunch. The restaurant Peder Oxe is situated at the Gråbrødretorv in central Copenhagen.

fredag, februar 15, 2013

Cosy coat

Inspired by this pattern I decided to make myself a long, cosy coat for indoor use last winter. The pattern is designed by Karen Marie Vinje and is published in a book called "Strikk i en fei". The original yarn for the coat is Faerytale from Du store alpakka - two strands held together.

I used one strand of fingering weight alpaca (Du store alpakka) and one strand of Kidsilk from Drops. I joined the pieces together and trimmed the edges with the Kidsilk by crocheting. As you can see, I miscalculated the size of the jacket piece BIG TIME (pun intended...), but decided I would keep the excess and make it up as a wrap, or as a veru large lower collar if you like. I have worn this "personal blanket" quite a bit; even on the coldest winter days it is very warm!