lørdag, april 13, 2013

Still a chill - O springtime where art thou?

First of all: HAPPY BIRTHDAY dear sister! Maybe you are not surfing the blogworld today to read this, but still...

Then: The armwarmers are excellent for keeping my wrists and lower arms warm and as bad/good luck would have it that is exactely what I need these days. Bad luck referring to my hope and expectations for the arrival of springtime and rising temperatures, with no need for sturdy accessories like these. Good luck referring to a real chance to show off and use my latest creations as soon as I got them off the needles. My Matchy Matchy hat, neckwarmer and armwarmers are not out of season after all - it is just the season it self being out of season... Scroll down for armwarmer pattern if you need some compensation for the lack of warm weather too ;o)

ARMWARMERS

Yarn: Sulka, Du store alpakka (CA 45 g Petrol S209 and ca45 g Seagreen S236)
Needles: 8 mm 60 cm circulars and 5 mm 40 or 60 cm circulars

The armwarmers are knit back and forth on circulars - you can of course use dpns in stead.The pattern allows you to easily change it to preferred size - just keep knitting the stripe pattern until you got the desired length (which of course requires more yarn than stated here).

Cast on 78 st on 8 mm needles. Change to 5 mm needles and knit 7 rows of 2 x 2 rib.

Change to 8 mm needles as you also change colour. * Knit 1 row, purl one row, then change colour again, knit 1 row, purl 1 row*. Repeat this stripe pattern 10 times (ending with the first rib colour).
Change colour, knit ONE row and change to 5 mm needles.

Knit 4 rows of 2 x 2 rib
Cast off very loosely using 8 mm needles. Weave in loose ends and then join edges together by Invisible Weaving, also called Mattress stitch, Backstitch, Overcast stitch like this:

Then, of course, make another identical armwarmer and enjoy the soft, arm- and heartwarming feling :o)


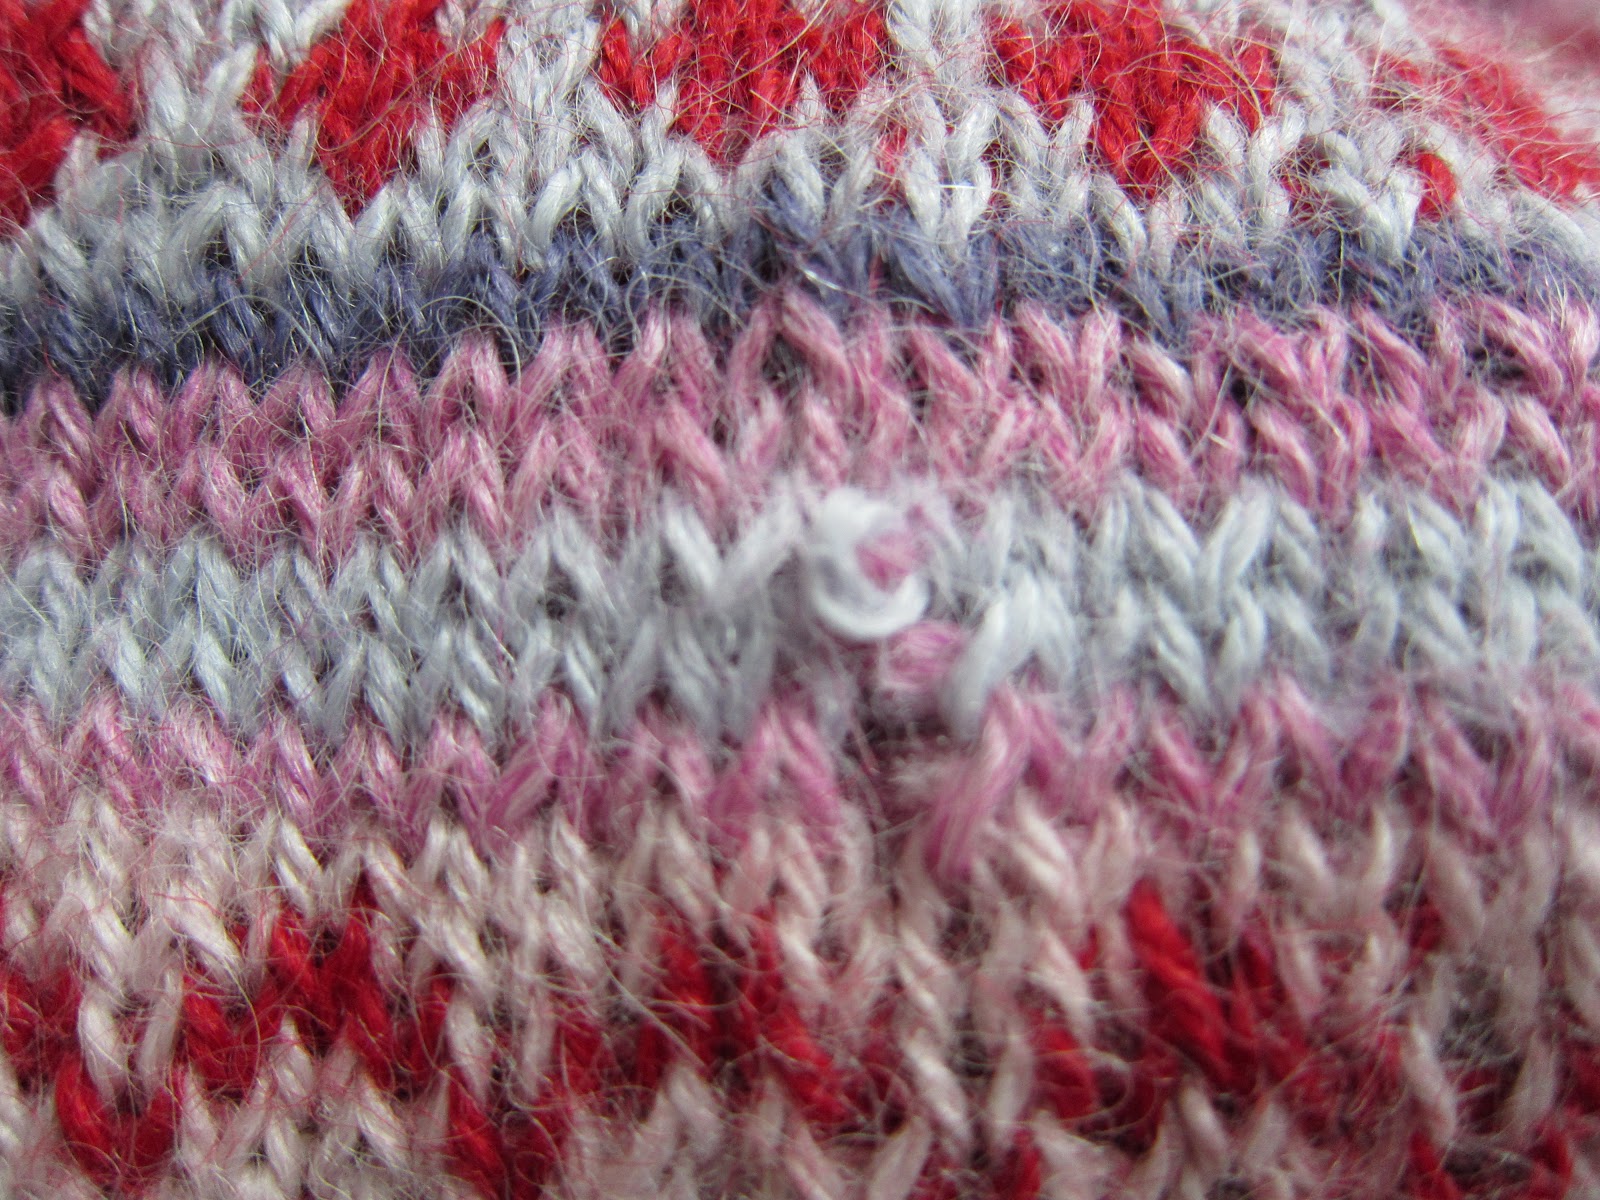
I DID rotate these photoes before uploading them, but Blogger keep jinxing them so I can´t be bothered to try again. The reason I am posting the above and below photo (and the one further down) is to illustrate how neat and almost invisible the seam appears - I love it! Above: Armwarmer knitware without seam. Below: Armwarmer knitware with (almost) invisible seam
...as you can see below, this is as good as it gets when it comes to seaming up bulky, striped knitware. To the leftt: Armwarmer without seam. To the right: Armwarmer with (almost) invisible seam

torsdag, april 11, 2013

Smell the roses!

...mmm...the strong, but delicate structure of this rose...the strong, but delicate colours of this rose...the not so strong but very delicate smell of this rose! The last rose standing! (From the impressive bouquet I recieved on my birthday last week)

tirsdag, april 09, 2013

Late winter, early spring?

The sun is shining from a clear, blue sky all day long... and so it has for the latest few weeks. I have observed the snow free patches in the garden growing bigger day by day. Still it is far too cold outside to give in to the desire for wearing open toe shoes and no coat. The thermometer stated -7 Celcius degrees this morning, so my newest hat, my very old coat AND a brand new neckwarmer are still necessities around here. This neckwarmer has a very simple design and is constructed to drape outwards at the bottom to keep the lower neck warm as well. To make this happen, without doing any increases, it is finished with a few rounds of seed st. The pattern is all yours; scroll down to find it :o)

NECK WARMER

Yarn: Sulka, Du store alpakka (50 g Petrol S209 and 60 g Seagreen S236)
Needles: 8 mm 60 cm circulars and 5 mm 40 or 60 cm circulars

The neckwarmer is knit in the round, from the top down. This method allows you to easily change it to preferred size - just keep knitting the stripe pattern until you got the desired length (which of course requires more yarn than stated here).
Cast on 78 st on 8 mm needles. Change to 5 mm needles and knit 7 rounds of 2 x 2 rib.

Change to 8 mm needles as you also change colour. * Knit 2 rounds, then change colour again, knit 2 rounds*. Repeat this stripe pattern 6 times (ending with the rib colour).

Change colour, knit 2 rounds.

Change colour, knit ONE rond and change to 5 mm needles. Then knit one round of seed st (= knit one, purl one).

Change colour, knit seed st for 2 rounds.

Change colour, knit seed st for 2 rounds and cast off very loosely using 8 mm needles (ending with the rib colour).

Weave in loose ends and enjoy!


Below you can see proofe of my laziness/cleverness; I used the long tail of yarn from the last dark seed st stripe to get enough yarn to cast off the last 7 st...

fredag, april 05, 2013

Space Invaders

This Arne & Carlos Space Invaders hat for my nephew was  a very quick knit - it can be done in a single evening of TV-watching! The pattern was developed as part of the with Japanese fashion brand Comme des Garons at Christmas 2008. As usual I did not do exactely as the pattern said. The original yarn is Dale Freestyle which I replaced with Dale Falk. The latter require smaller needles, so I added one Space Invader to the pattern, and it worked out just fine! I held a strand of reflecting yarn (0,3 mm) with the white for the Space Invaders, so they will (hopefully) glow in the dask AND add a safety function. The pattern can be purchased at Dalegarns webshop 

onsdag, april 03, 2013

Matchy Matchy on my birthday!


Today is my birthday, so I decided to give all of you the free pattern for my latest hat! :o) The yarn is the softes imaginable; Sulka from Du store alpakka. It consists of 60 % merino, 20 % alpaca and 20 % silk. Look at the matchy matcy colours that even matches my coat!
Womans Matchy Matchy hat, size small

Yarn: Sulka, Du store alpakka (50 g Petrol S209 and 50 g Seagreen S236)
Needles: 8 mm dpns and 5 mm dpns
The hat is knit in the round, from the top down, all stocinette st. This method allows you to easily change it to preferred size - just keep increasing as before after row 14 if you want a bigger/wider hat.

Cast on 6 st with darkest colour on 8 mm needles.
Row 1: Change colour and increase 1 in every st = 12 st
Row 2: Knit all st
Rows 3, 5, 7, 9, 11, 13, 15, 17, 19, 21: Change colour, knit all st
Row 4: *Knit 2, increase one*, repeat to end
Row 6: *Knit 3, increase one*, repeat to end
Row 8: *Knit 4, increase one*, repeat to end
Row 10: *Knit 5, increase one*, repeat to end
Row 12: *Knit 6, increase one*, repeat to end
Row 14: *Knit 7, increase one*, repeat to end
Row 16: *Knit 8, increase one*, repeat to end
Row 18: *Knit 9, increase one*, repeat to end
Row 20: *Knit 10, increase one*, repeat to end
Row 22: *Knit 11, increase one*, repeat to end = 72 st

Rows 23, 35, 27, 29, 31, 33, 35: Change colour, knit all st
Rows 16, 18, 20, 22, 24, 26, 28, 30, 32, 34: Knit all st

Row 36: Change to 5 mm needles and *Knit 1, knit 2tog*, repeat to end = 48 st
Rows 37-45: *Knit 2, purl 2*, repeat to end
Cast off very loosely or: *Knit 2, pull second st over the 1st, make one chain st*, repeat to end.


Weave in ends on reverse side of hat, making sure to use the cast on-end to fill/pull together the cast on stitches at the top of the hat.
ENJOY :o)


søndag, mars 31, 2013

Påskemorgen slukker sorgen...?

Hm... snakk om å bøye seg for overmakten! I dette tilfellet: For mange lys for tett sammen = for høy varme for stakkaren i midten. Se bildet under. Ikke prøv dette hjemme.... og så håper jeg at alle har hatt en super påske og slett ikke har bukket under for dårlig skiføre, for mye påskemarsipan eller andre uhumskheter. Påskemorgen slukker sorgen!

lørdag, mars 30, 2013

Padding tutorial

Here it is, my tutorial for a customized circular padding:
1. I bought a kitchen chair padding at 50 % discount and decided the thickness and firmness of the foam rubber padding would be perfect for making a precisely shaped and stady seat padding for my piano stool. The cover was crocheted during Christmas and had been waiting for a proper filling ever since...


2. I used the crochet cover as a template to mark the size of the actual padding (inner circle) and seam allowance (outer circle). I used a pointed and very sharp pair of scissors (not the blunt pair shown in the top photo...) to cut the fabric following the outer circle marking.

3. Then I marked the foam rubber padding, making the circle as even as possible

4. Using a very sharp little knife I cut the foam rubber following the marking, and then cut another cm within the edge to make sure the padding got the right size and leaving the top fabric a cm bigger (seam allowance)


5. I then cut the bottom layer of fabric allowing ca 5 cm of fabric all the way around as seen in the photo below.


6. Folding in the bottom layer of fabric, securing it  by folding the top layers seam allowance and pinning the layers of fabric to the foam rubber - distributing the pins evenly...
7. ...adding quite a few more pins to make sure the top layer is as neatly shaped as possible, and also making sure it stays in place while stitching as shown in the photo below
 8. keep stitching all the way around the padding, and VOILA!

 "...both sides now..."
...the piano stool padding at work here...

torsdag, mars 28, 2013

Happy Easter!

 Happy Easter! The sun is out, and little green leaves are appearing - on the branches I put in water a couple of weeks ago. Spring is near!!!

onsdag, mars 27, 2013

Circular comfort

 Last week I finally finished this circular piano stool padding. The yarn is a fingering weight cotton from Søstrene Grene - leftovers from a ripple bed spread (that I finished last year but still haven´t blogged). It was impossible to find a circular padding of the right size, so I ended up making it myself. A step-by-step tutorial for this will follow... PS - the stool was purchased last summer at Skafferiet - well worth a visit!


mandag, mars 11, 2013

Button buddies

I just had to show off the little button cuties on my Candy Cardie...

fredag, mars 08, 2013

Fairly fair


Another crochet project using scraps from the stash... I don´t know how many scrap projects I have started, just to end up bying more yarn to be able to finish it off at an appropriate size. I guess it is no point guaranteeing this will NOT happen this time, but it is still my intention. So this will be a blanket, size "as big as it gets using all my white, off-white and pale beige scraps"...

I decided to put my inner yarn snob to rest for a while, as my stash contains little scraps of acrylics as well as the finest angora wool. If I am ever to "get rid of" the undesireable acrylics, it will have to happen now. As the photo shows I even have some really old wool as. The logo below just screams early eighties - genuine vintage yarn, no less ;o)

tirsdag, mars 05, 2013

Candy Cardie good to go!


Isn´t she lovely? Isn´t she beau-tiii-fuuuul?!?
A surprisingly quick and pleasant knit, this one! I cast on the 7th of February and bound off the 27th. A few days later I took my  baby to the spa and gave her a bubble bath and light steam press - and of course I carefully trimmed all the woven in ends inside the sleeves and alongside the front hems. And. Then. I. Discovered. With. Great. HORROR!!!! That I had accidentally snipped one stitch on the right sleeve as well... But I have fixed it! Picture proof below!